Retouching Case Studies
Here you’ll find a few examples of what a high-end retoucher’s daily life is like. Often times the person viewing the final image will have no idea what kind of efforts went into making the final art. Without sounding too jaded, I think anyone would be hard pressed to find a published image that included post production/retouching credits. Without going off on a rant here about giving credit where credit might be due… I’ve even seen instances where the caterers were thanked at the end of an advertising job.
High Intensity Portraiture Using Curves
Retouching Notes
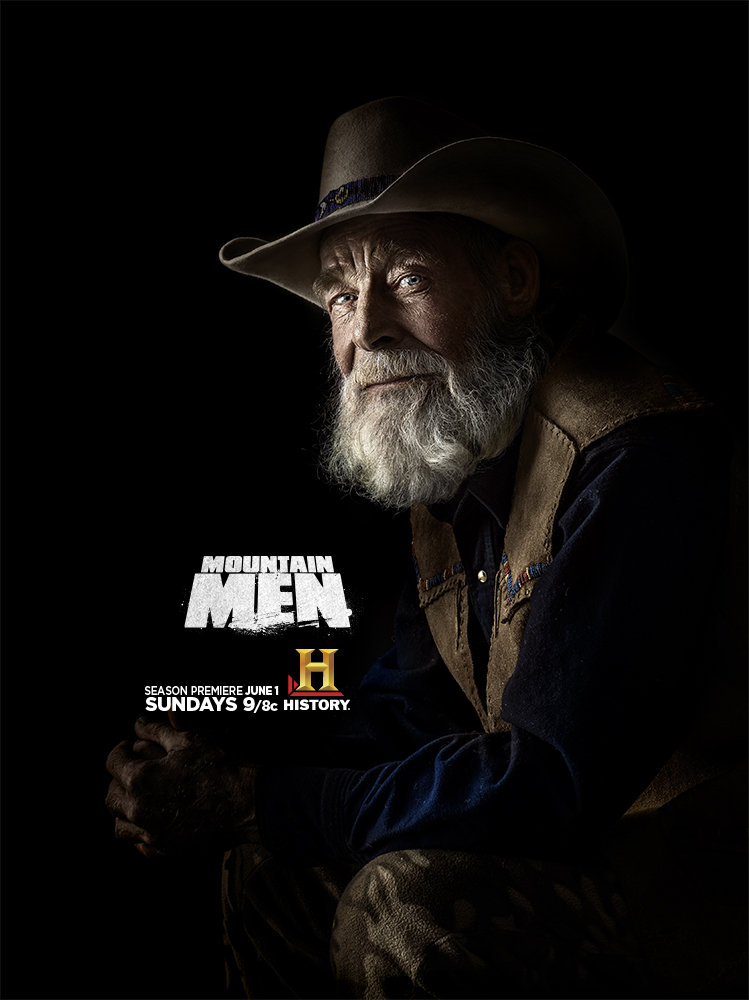
What can I say about this image other than it's so near and dear to my heart. I was approached by the art director for this project with one simple request... "do your thing". Which essentially meant that he had an idea about what he wanted, but no way to describe it other than to ask for something really dramatic. After a few concept rounds I finally hit the nail on the head. Curves and selective dodging and burning the "old school" way
Hair Campaign/Compositing Hair
Retouching Notes
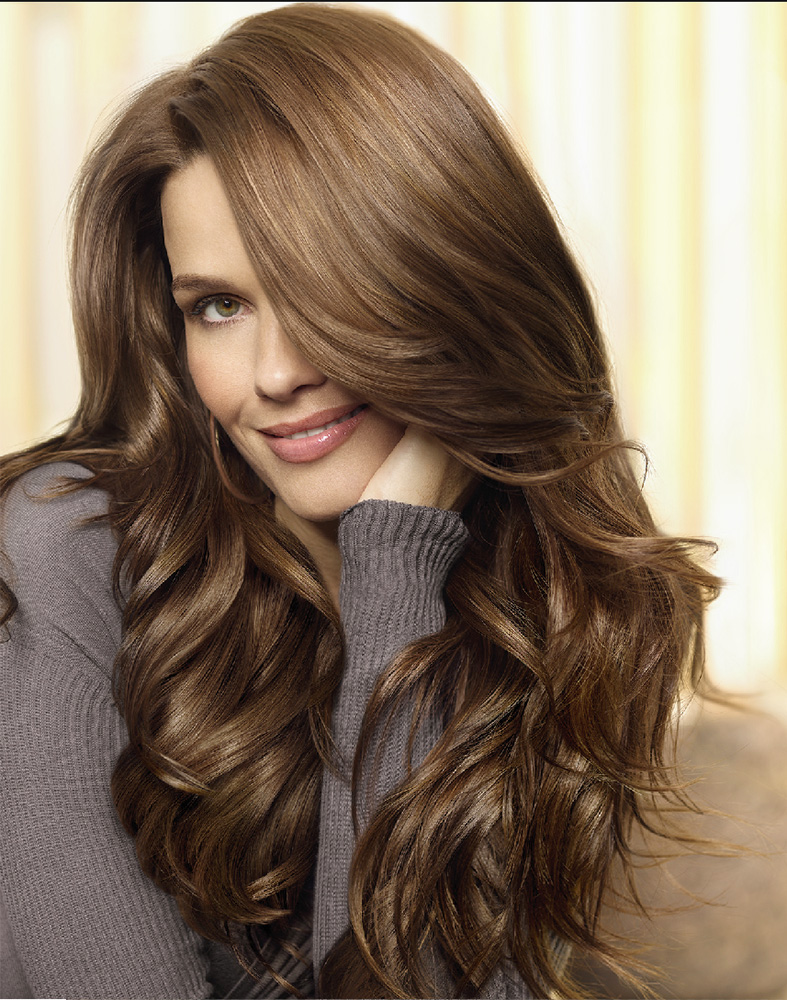
This was a truly challenging image because I only had 4 additional plates to pull from. The client loved the photo, but wanted a much "cleaner" look to the hair syle as well as a more groomed/controlled look.
The beauty retouching was a breeze! I probably could have done that in my sleep. the tough part was having to rebuild the background by finishing her head/arm and remove certain visual distractions(as per client request). After about 40 hours of searching for hair that had similar contours/focal points/shape and 10 rounds of back and forth art direction, we finally came to the finished product.
Still Life Retouching
Retouching Notes
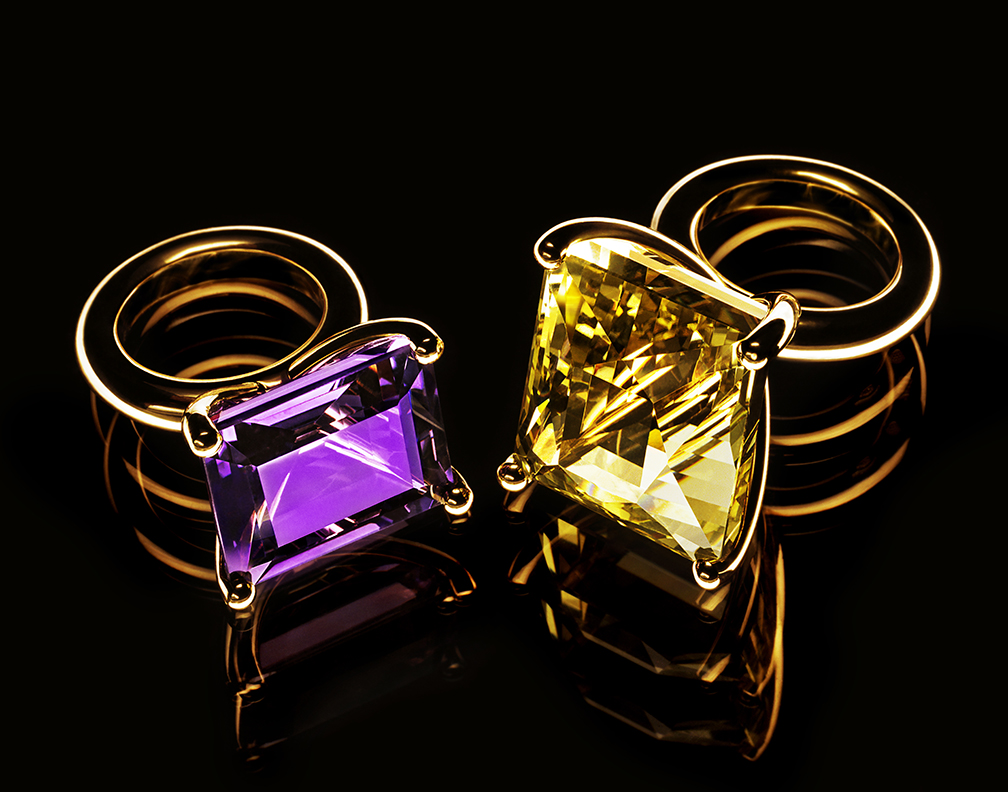
One of my first clients as an independent artist was Jesse Frohman. Jesse began his career assisting Irving Penn. If you don't know who that is, then I highly recommend you either get to know him or find another vocation. Mr. Penn's work is beyond perfect and I'm sure that Jesse learned a great deal from his time with Penn. This image was another editorial and Jesse explained to me why he had to shoot the image so flat. At first I wasn't sure why he didn't shoot it with the necessary contrast and after following his editing advice I saw how much information I now had to pull from in this RAW image. Fixing some out of place facets, removing unwanted highlights and exploding the contrast made for an exceptional finished piece of art. Still life retouching is still one of my favorite things, even if it is way more detail oriented and time consuming then beauty. The final look can be quite a dramatic departure from the original photography.
Skin Retouching: Defon 4
Retouching Notes
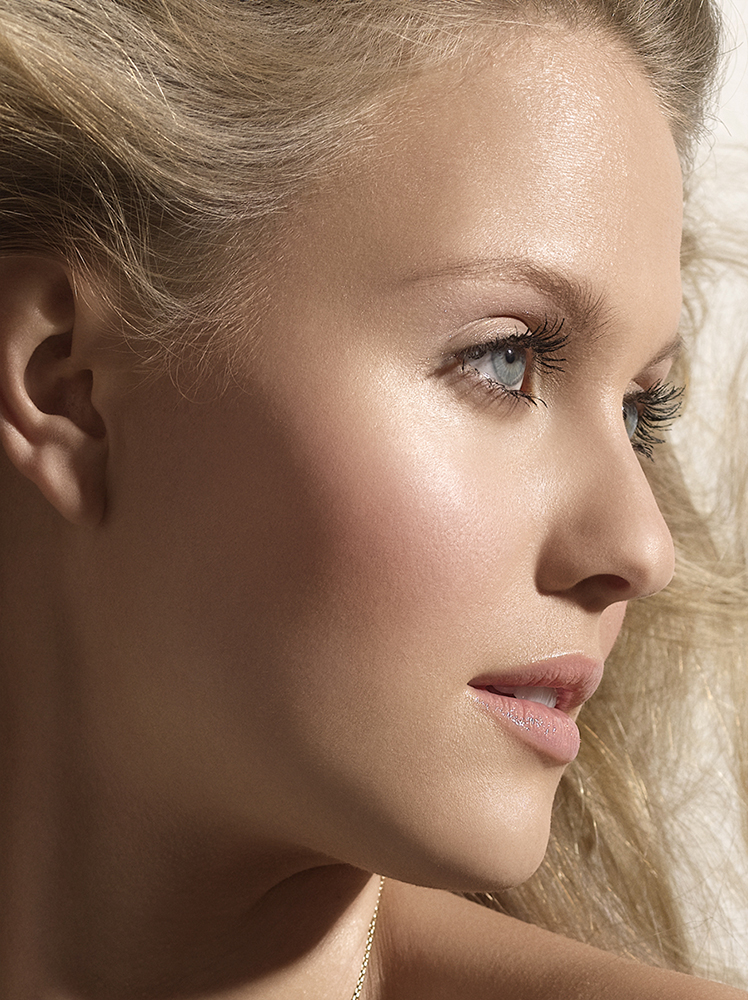
When I saw this image RAW, my eyes almost popped out of my head. This image was used in an international editorial and I was shocked at how bad the model's skin appeared. The photographer stressed that he wanted the retouching to look natural and not fake, so I had to retouch this subject in stages and take my time.
Creating Drama Using Color & Contrast
Retouching Notes
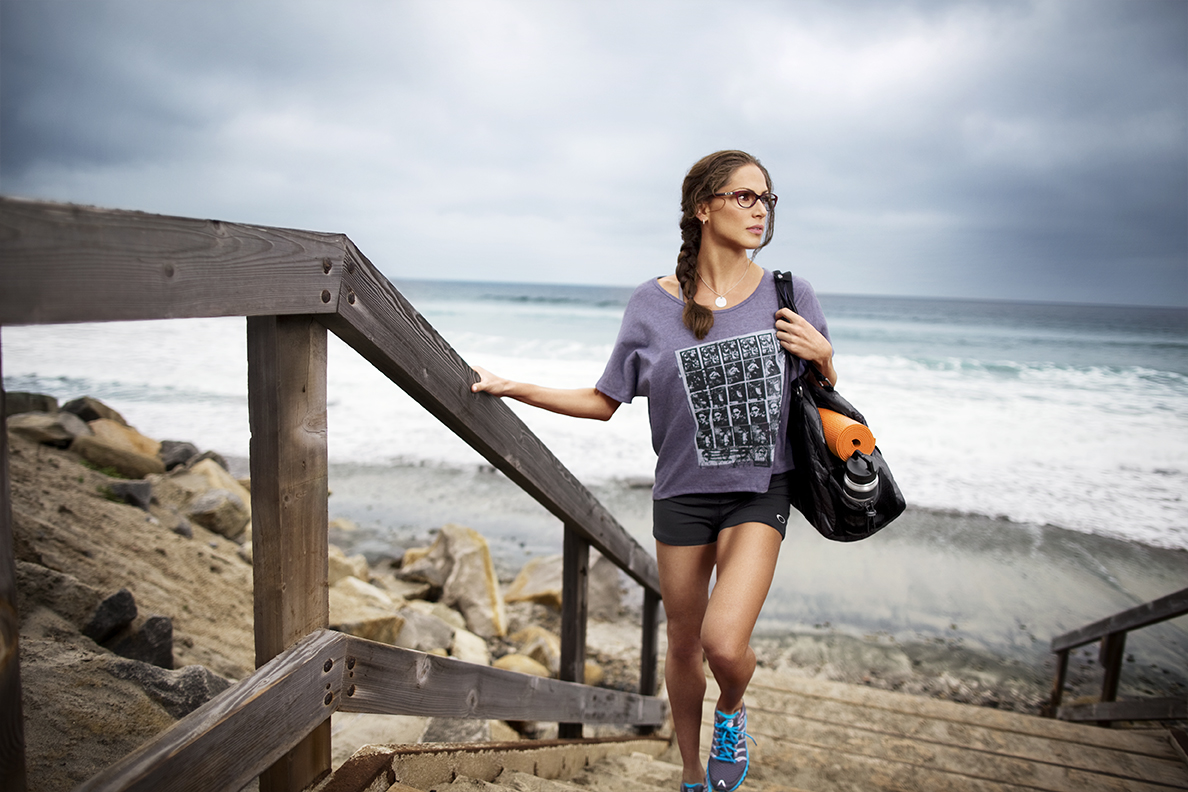
This project was a lot of fun. I tend to spend a great deal of my time lifting breasts, cinching waste lines and fixing skin. With this particular gig I didn't really have to focus so much on beauty. The mission was to create a more dramatic effect on the original photography.
Even though the photograph's composition seems quite simple, the elements that made up the art gave me a lot to work with in terms of what I could influence. The original sky had lots of data and I was able to swing the mood with curves to intensify the clouds. My thoughts were to create contrast in traditional ways, but to also add a "feel" of contrast using opposing colors. Notice the sky and water in the final art... the suble blueish tones opposed the warmer yellow tones of her skin and the sand. If you're not familiar with the color wheel... warmer yellows are on the complete opposite side of the wheel from the blues making them opposite and created a nice visual contrast.
Compositing Multiple Image Elements
Retouching Notes
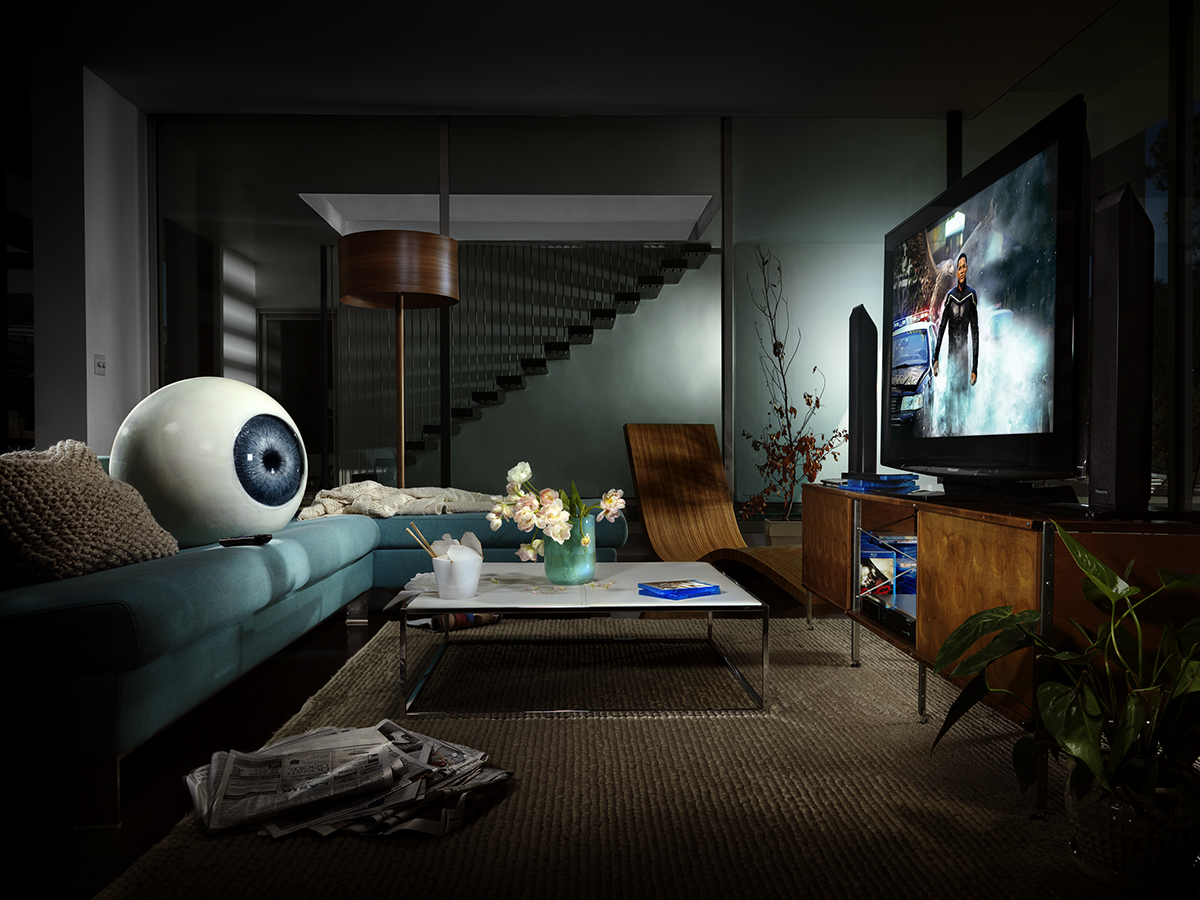
One of the smartest photographers I ever had the pleasure of working with was Jason Madera. I arrived at the Pasadena set to meet Jason for the first time. He already had this, the first scene, set up and ready to go. His plan was simple... Lock down the camera in a fixed position. Make sure that NOTHING and NOONE can accidentaly bump the camera and destroy the positioning. From there it was a matter of chaning scenery lights. If you look at the original scene you can see lots of reflections from the interiour lights as well of some annoying shadows and such. Taking several "instances" of this scene with differnt lighting allowed me to use separate photo "plates" to remove unwanted glass glare and shadow. It also allowed me to build more drama into the final look. In real life that eyeball was super creapy! I highly recommend thinking about the post production process BEFORE the shoot as Mr. Madera did for this job. It allowed for a tremendous amount of creativity without having to deal with resizing, scaling, warping images shot at different camera levels and angles.